Launch android-studio-ide-181.5056338-windows.exe to start the installation process. The installer responded by presenting the Android Studio Setup dialog box shown in Figure 1.
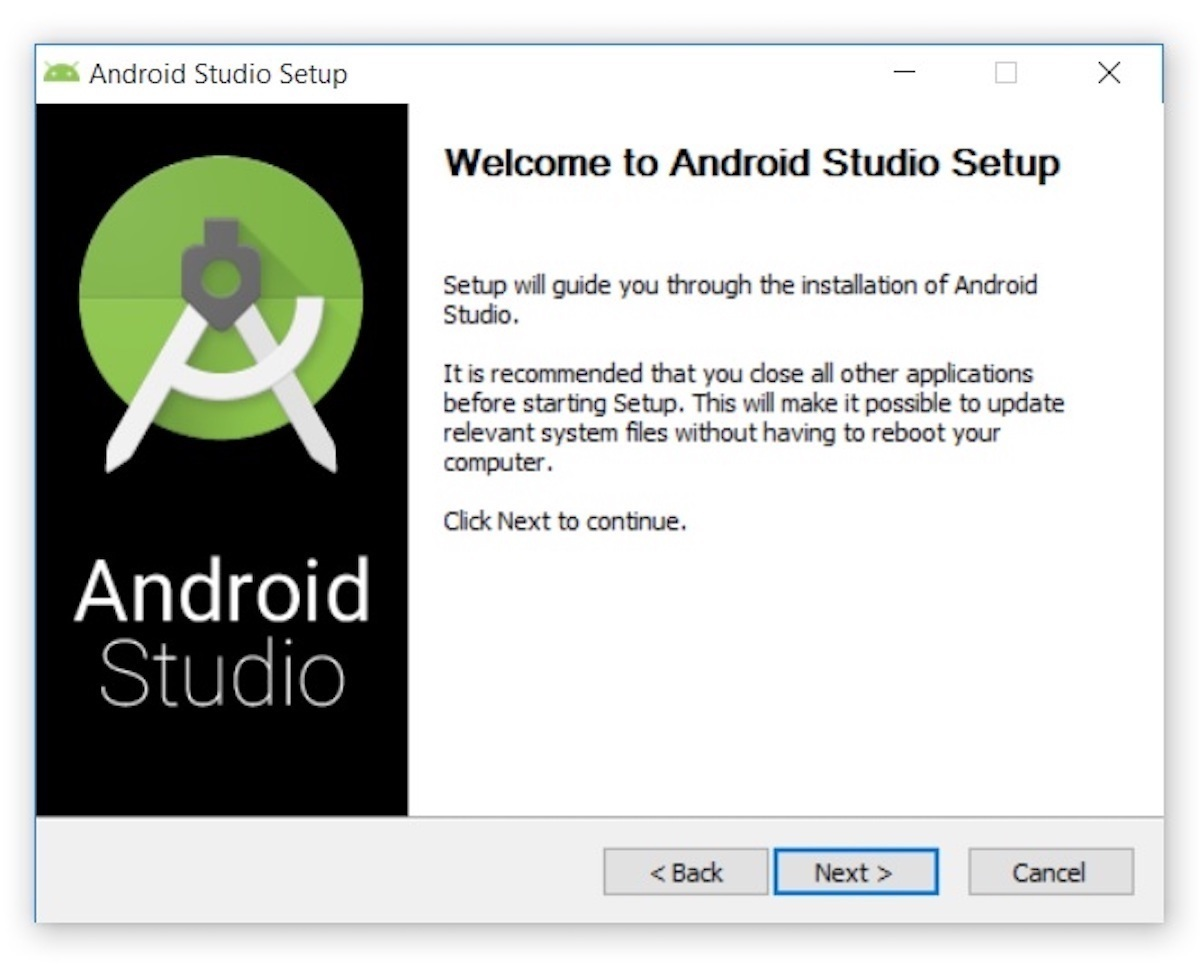
Figure 1. Set up Android Studio
Clicking Next took me to the following panel, which provides the option to decline installing an Android Virtual Device (AVD).
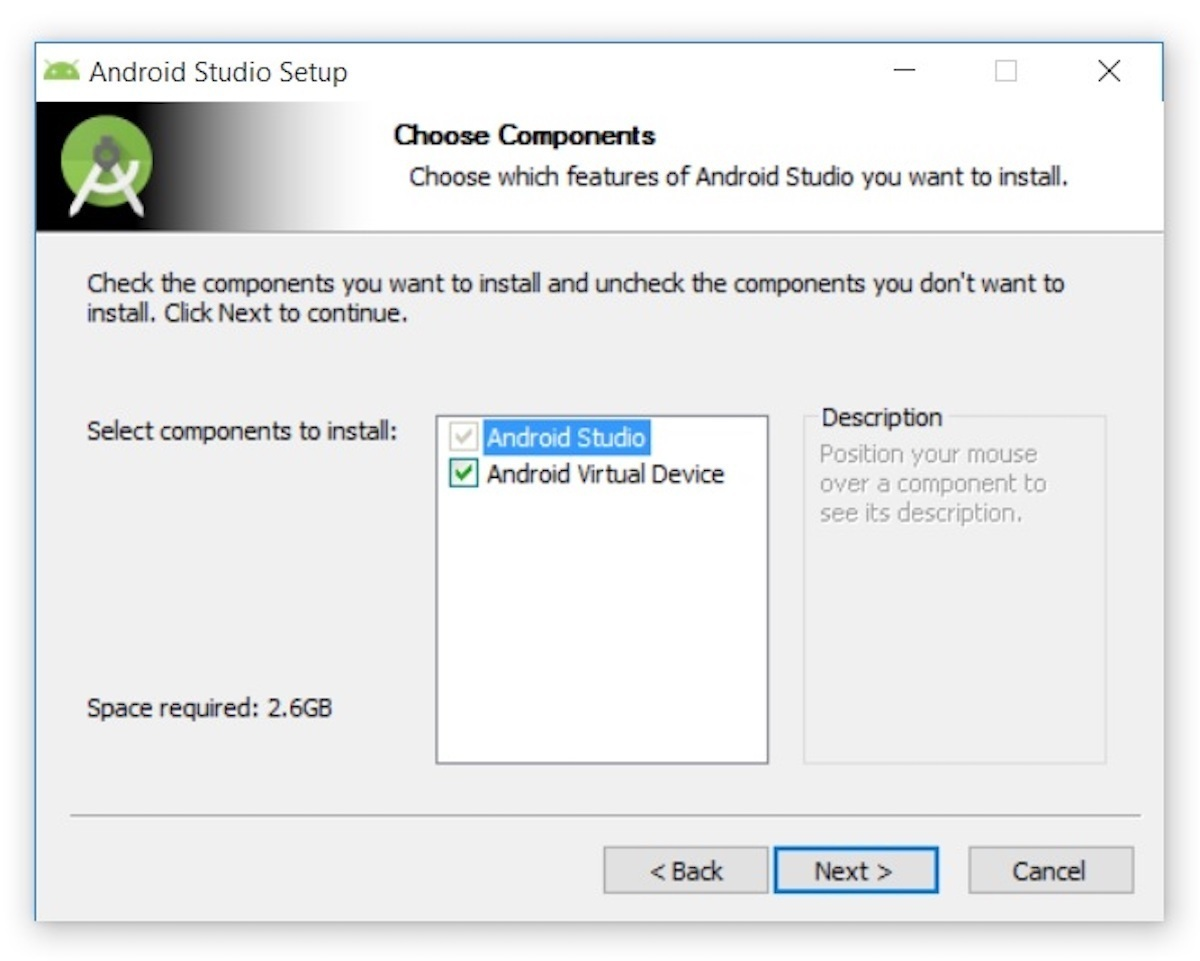
Figure 2. Install an Android AVD?
I chose to keep the default settings. After clicking Next, I was taken to the Configuration Settings panel, where I was asked to choose where to install Android Studio.
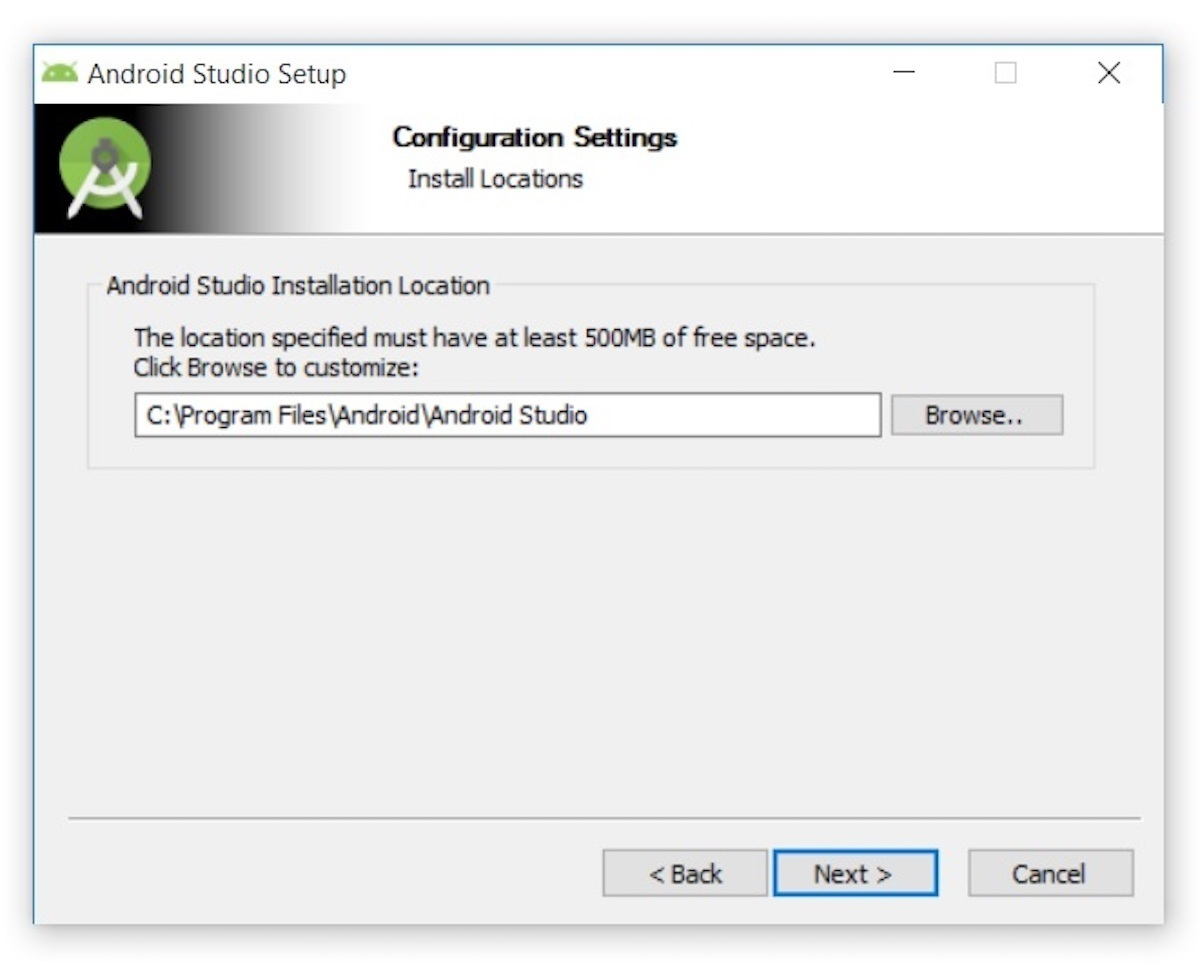
Figure 3. The installation location must have at least 500 MB free space
I kept the default installation location and clicked Next, and was greeted with the Choose Start Menu Folder panel.
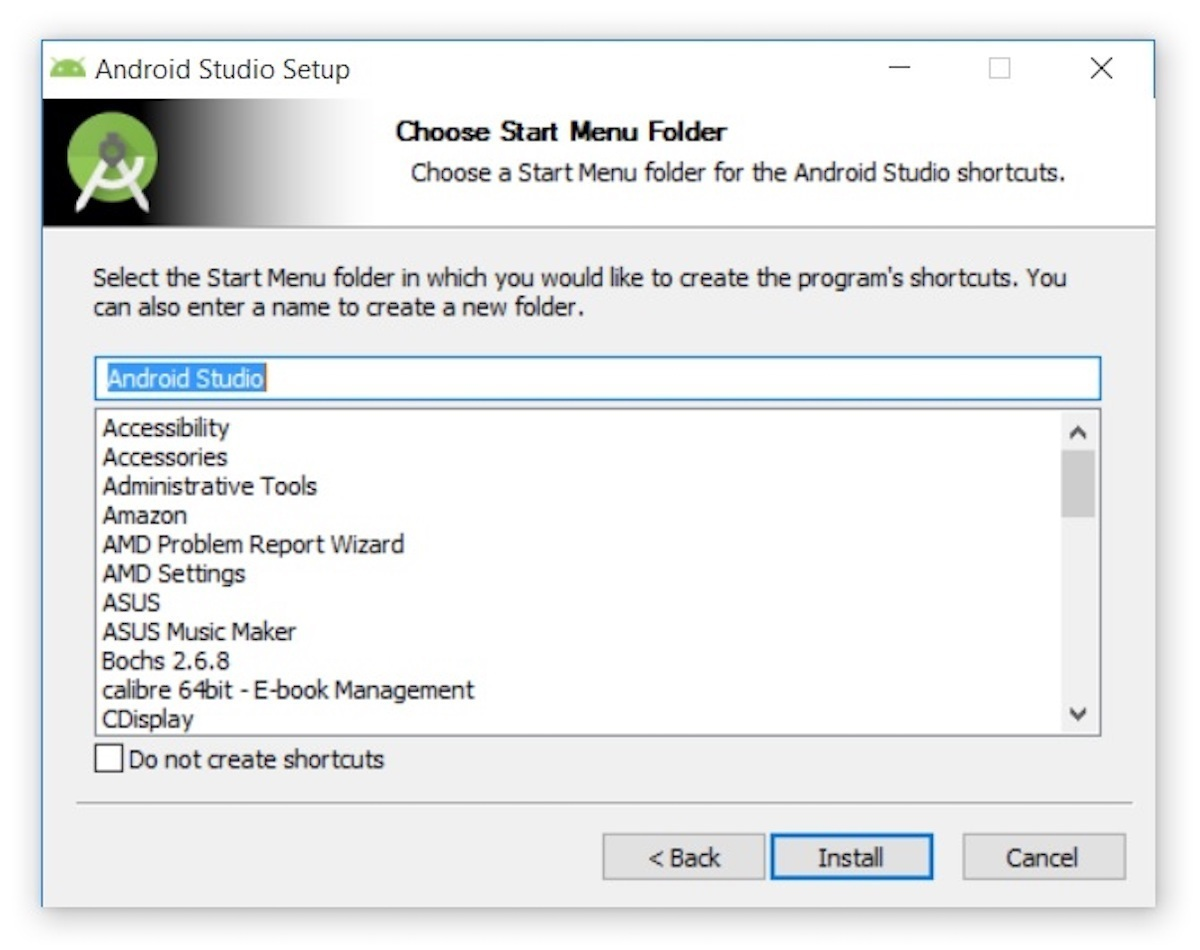
Figure 4. Select the folder in which to store Android Studio shortcuts
I kept the default setting and clicked Install. The following Installing panel appeared:
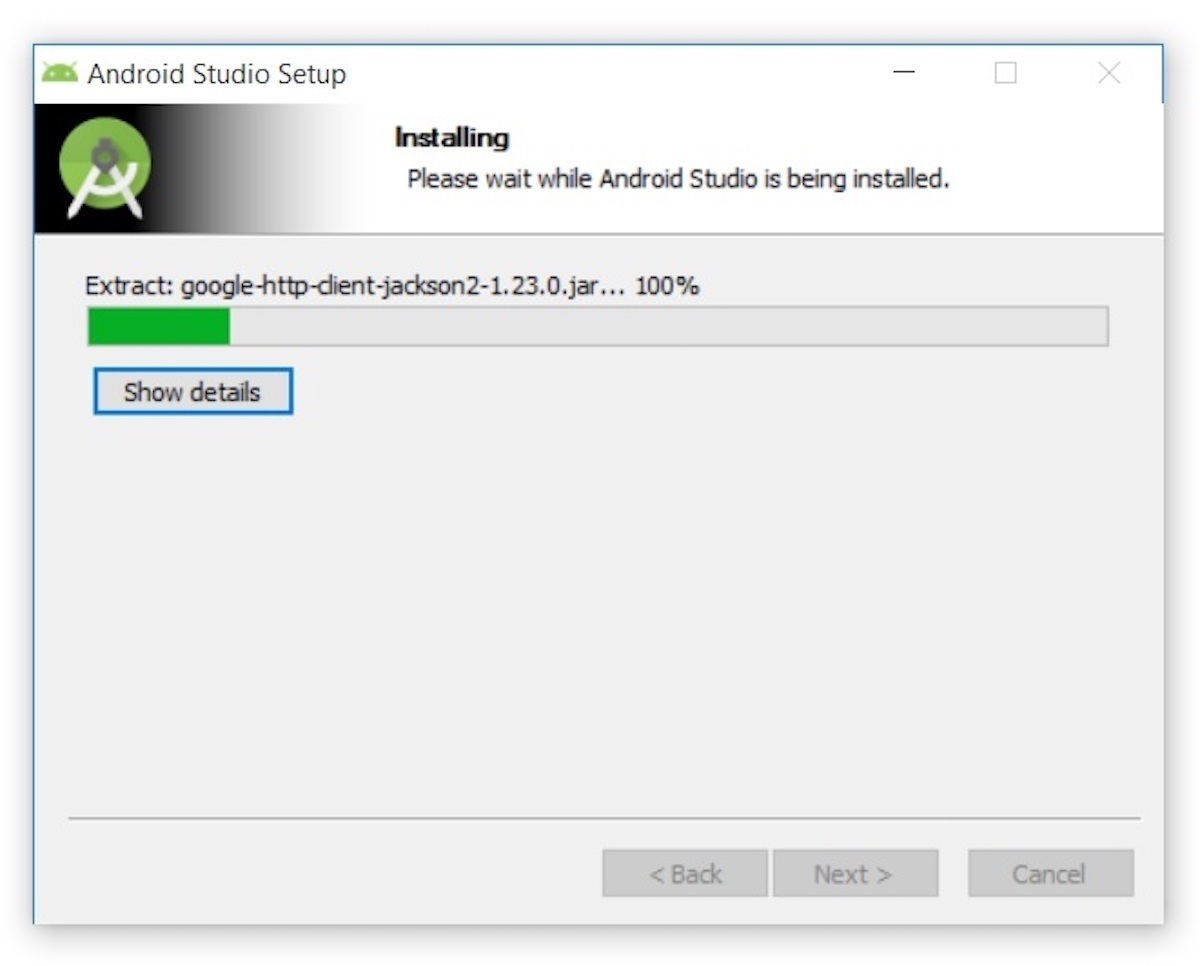
Figure 5. This panel shows the progress of the installation
Clicking Show details causes the names of files being installed and other activities to be displayed. When installation finished, the Installation Complete panel appeared.
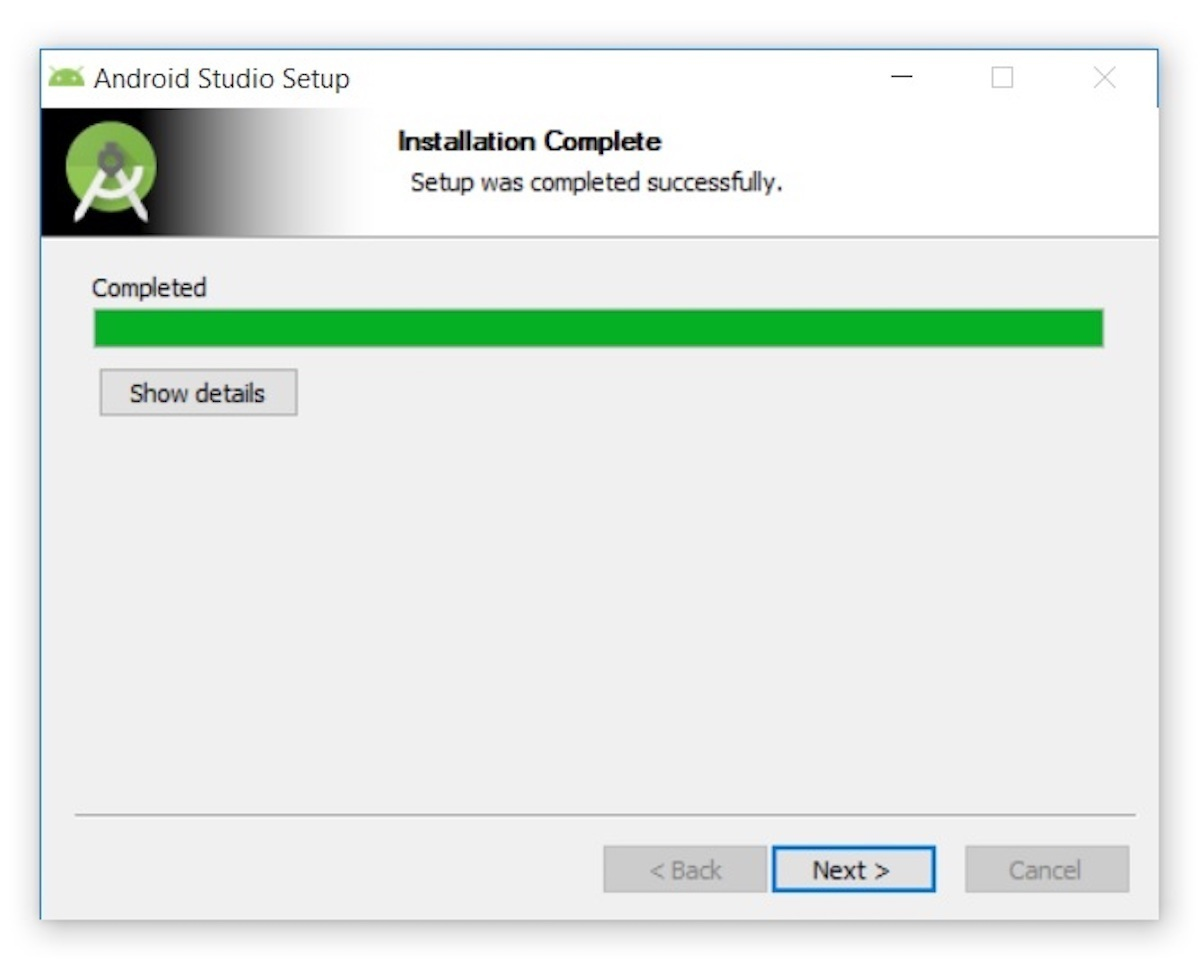
Figure 6. The Next button is enabled when installation completes
After clicking Next, the installer presented the Completing Android Studio Setup panel.

Figure 7. Leave the Start Android Studio checkbox checked to run this software
To complete the installation, I left the Start Android Studio box checked and clicked Finish.
Running Android Studio
The first time Android Studio runs, it presents a Complete Installation dialog box that offers the option of importing settings from a previous installation.
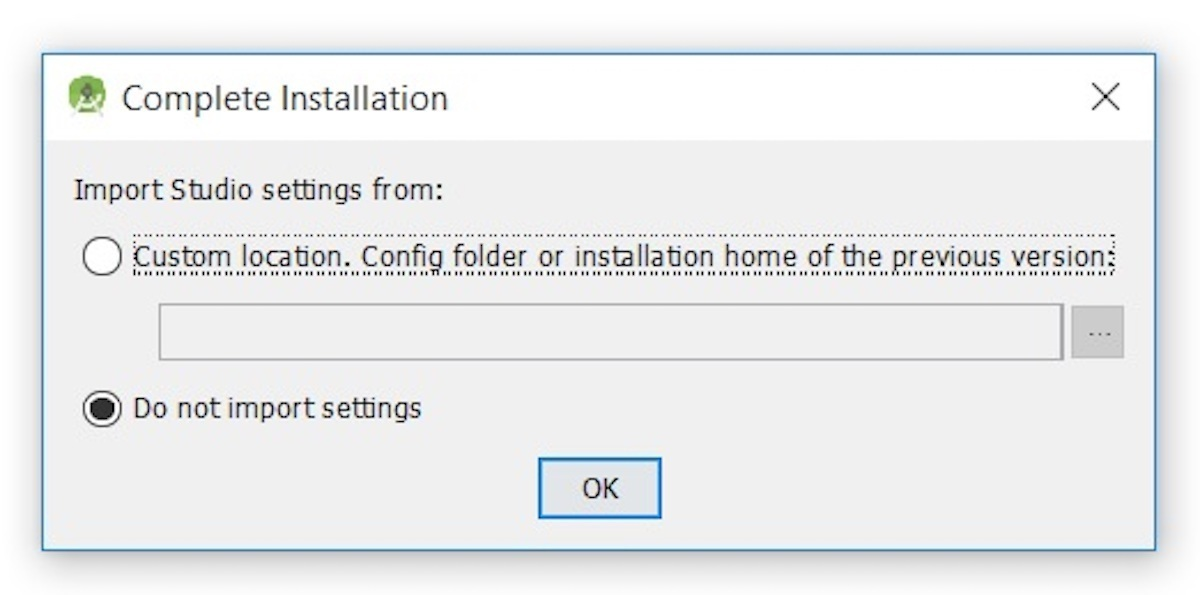
Figure 8. A previous installation's settings can be imported
I chose not to import settings (the default selection) and clicked OK, and was rewarded with the following splash screen:
Figure 9. Android Studio's splash screen
I also observed the following Finding Available SDK Components message box.

Figure 10. Android Studio downloads any SDK components that are needed (and available)
At this point, Android Studio presented the following Android Studio Setup Wizard dialog box:
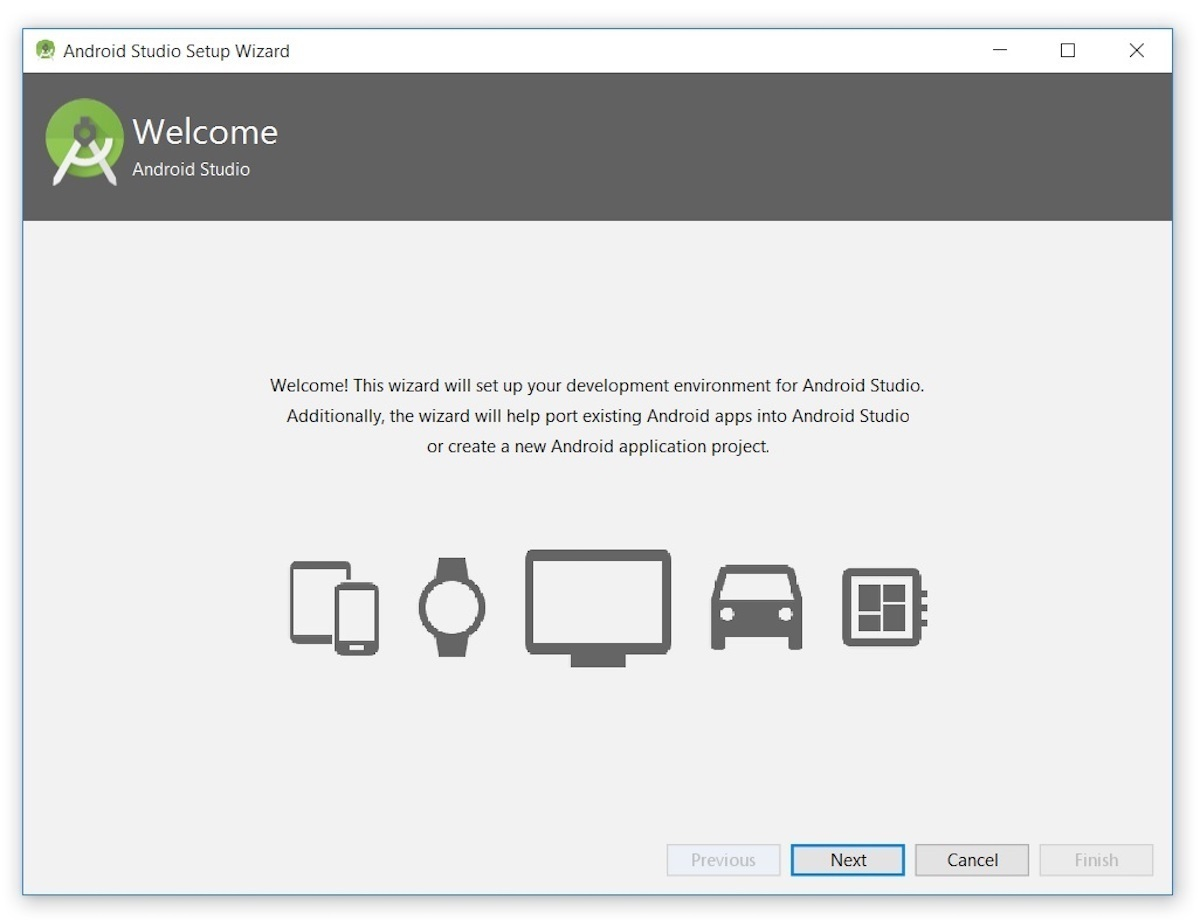
Figure 11. The wizard provides setup and app-porting capabilities
I clicked Next, and the wizard invited me to select an installation type. I kept the default standard setting.
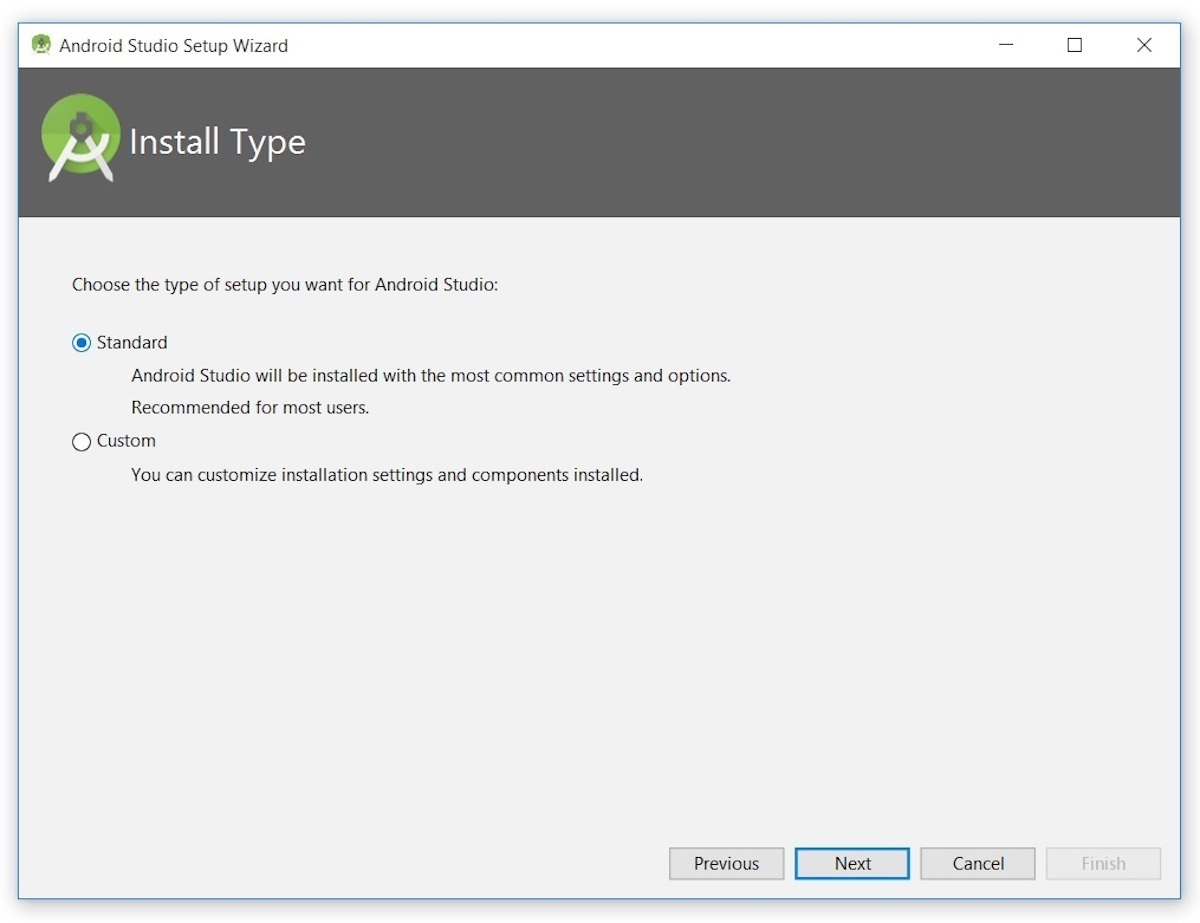
Figure 12. Choose an installation type
I was then given the opportunity to choose a user interface theme.
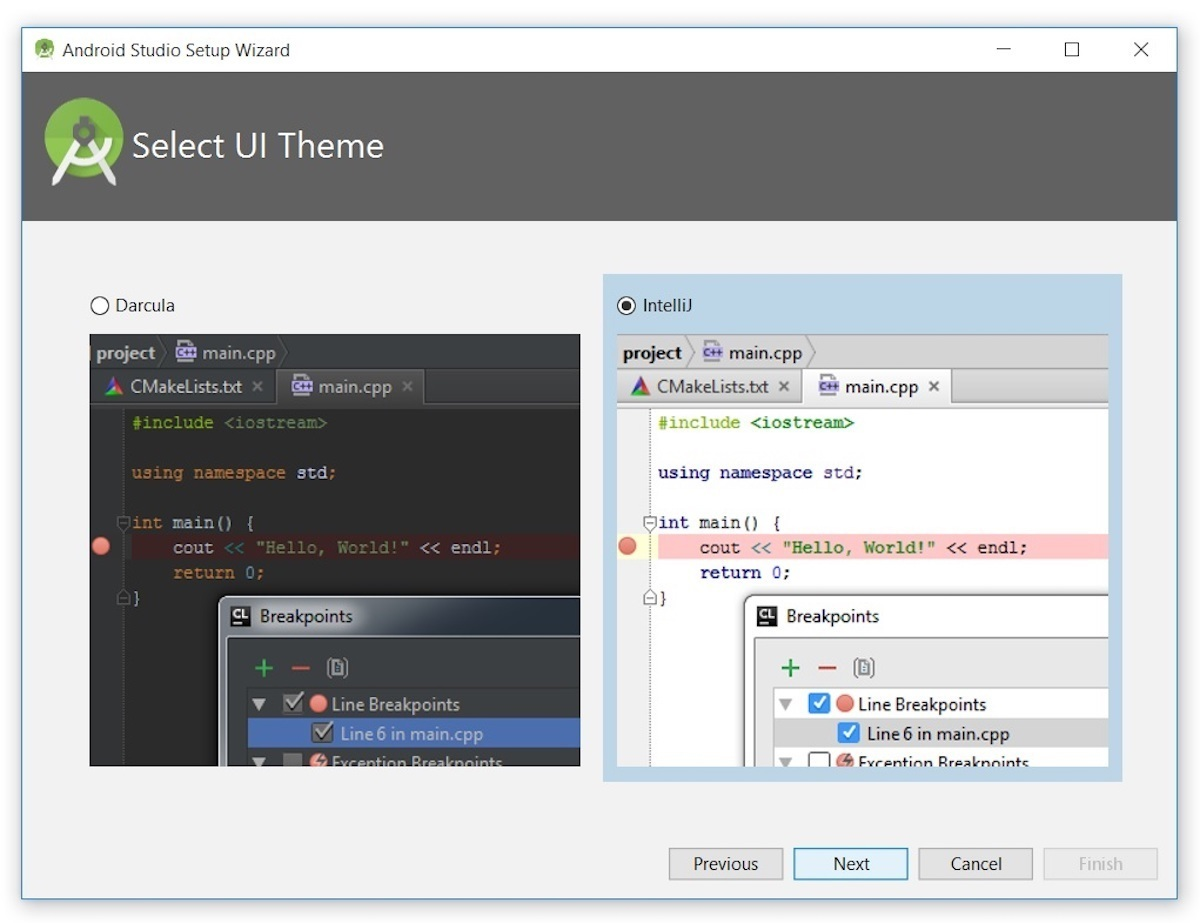
Figure 13. Put the bite on Android Studio by choosing the Darcula theme
I kept the default IntelliJ setting and clicked Next. Android Studio next provided the opportunity to verify settings.
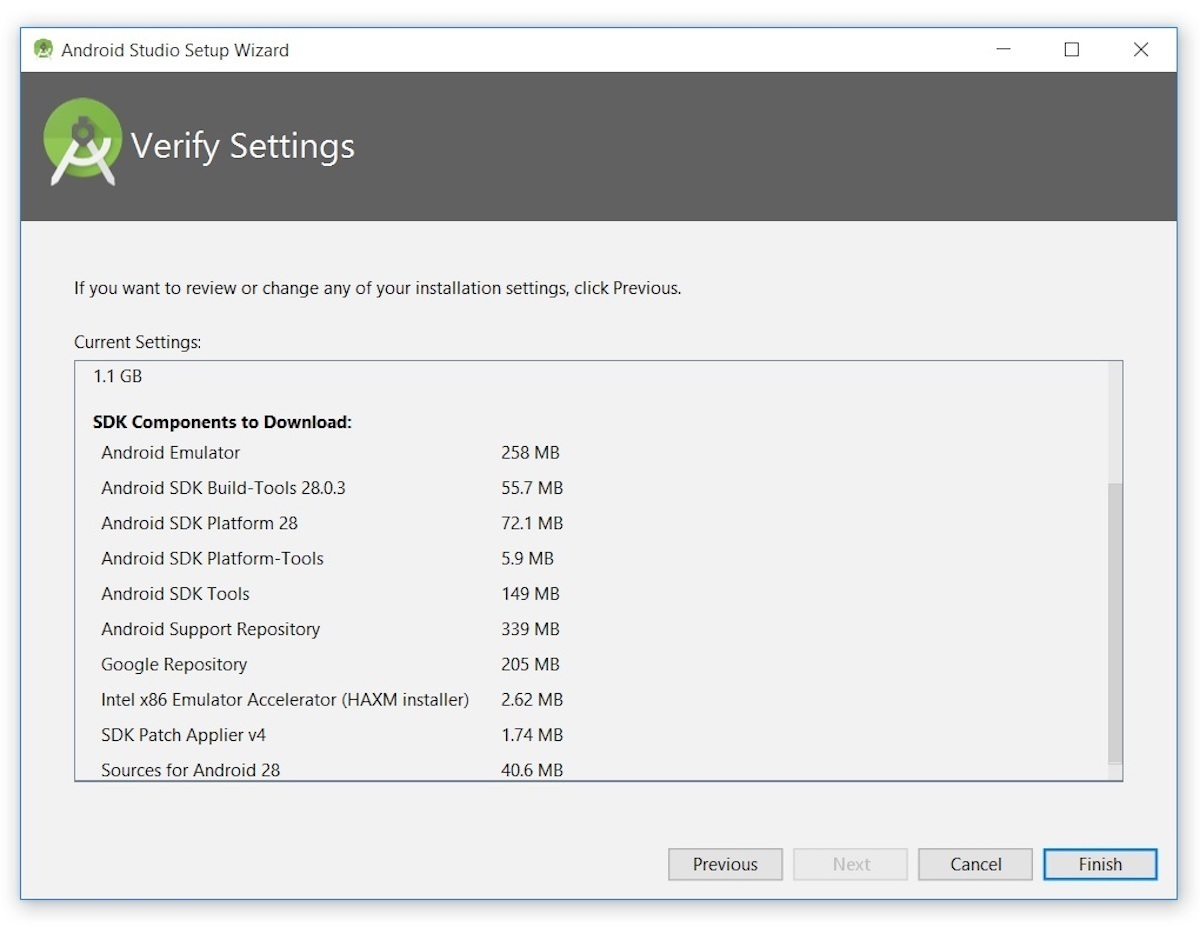
Figure 14. Android Studio identifies additional SDK components that will be downloaded (click to enlarge)
I clicked Finish and Android Studio began the process of downloading SDK components.

Figure 15. The wizard downloads and unzips SDK components
It can take several minutes for this part of the setup to finish. Clicking Show Details might relieve some boredom by revealing the various files being downloaded and unzipped.
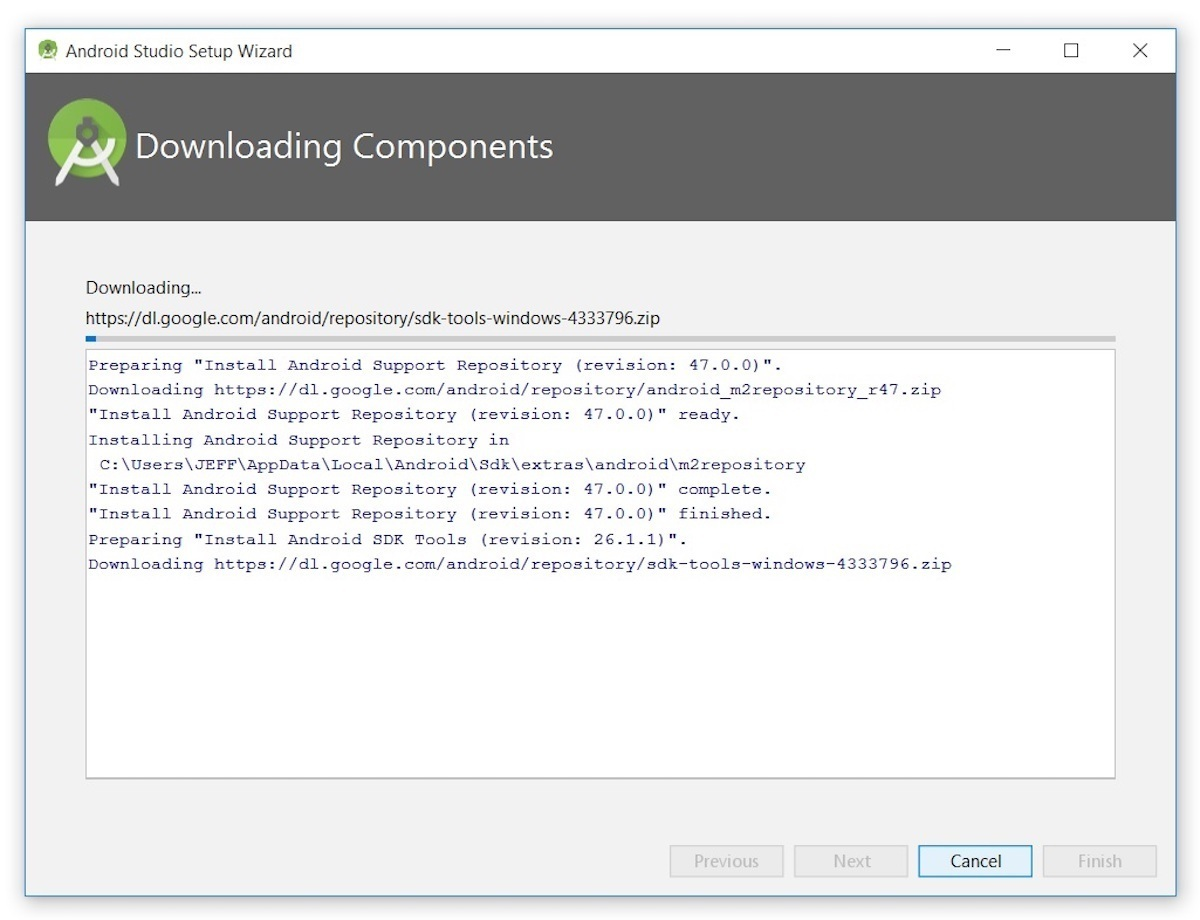
Figure 16. The wizard identifies the various archives being downloaded
For my AMD-based computer, an unpleasant surprise awaited after the components had completely downloaded and unzipped:

Figure 17. Intel-based hardware acceleration is unavailable
My options are to either put up with the slow emulator or use an Android device to speed up development. In Part 3 I'll show you how I resolved this issue.
Finally, I clicked Finish to complete the wizard. The Welcome to Android Studio dialog box appeared.

Figure 18. Welcome to Android Studio
This dialog box is used to start up a new Android Studio project, work with an existing project, and more. It can be accessed by selecting Android Studio from the Windows Start menu, or the equivalent on another platform.
Your first Android Studio mobile app
The quickest way to get to know Android Studio is to use it to develop an app. We'll start with a variation on the "Hello, World" application: a little mobile app that displays a "Welcome to Android" message.
In the steps that follow, you'll start a new Android Studio project and get to know the main window, including the editor window that you'll use to code the app in Part 2.
Starting a new project
From our setup so far, you should still have Android Studio running with the Welcome to Android Studio dialog box. From here, click Start a new Android Studio project. Android Studio will respond with the Create New Project dialog box shown in Figure 19.
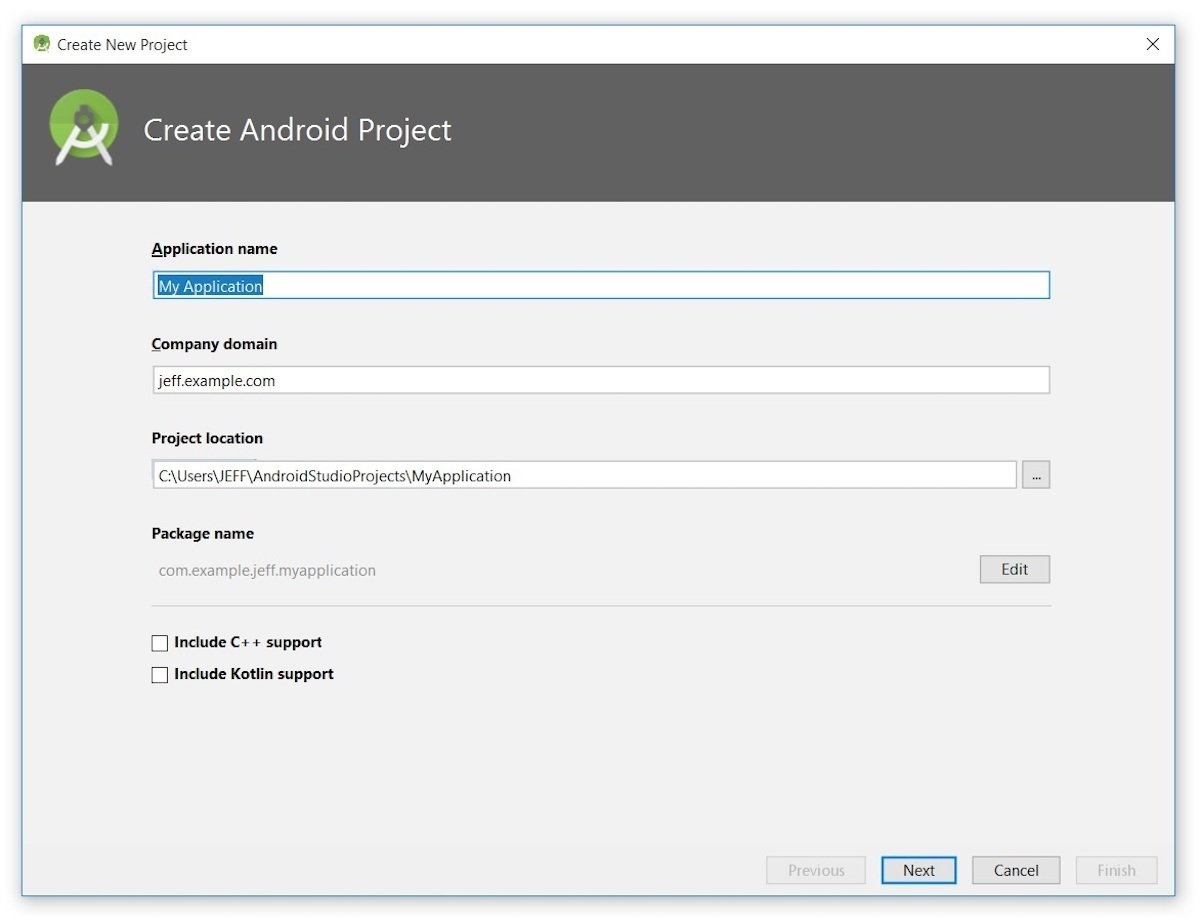
Figure 19. Create a new Android project
Enter W2A (Welcome to Android) as the application name and javajeff.ca as the company domain name. On my desktop, I observed C:\Users\JEFF\AndroidStudioProjects\W2A as the project location. Click Next to select your target devices.
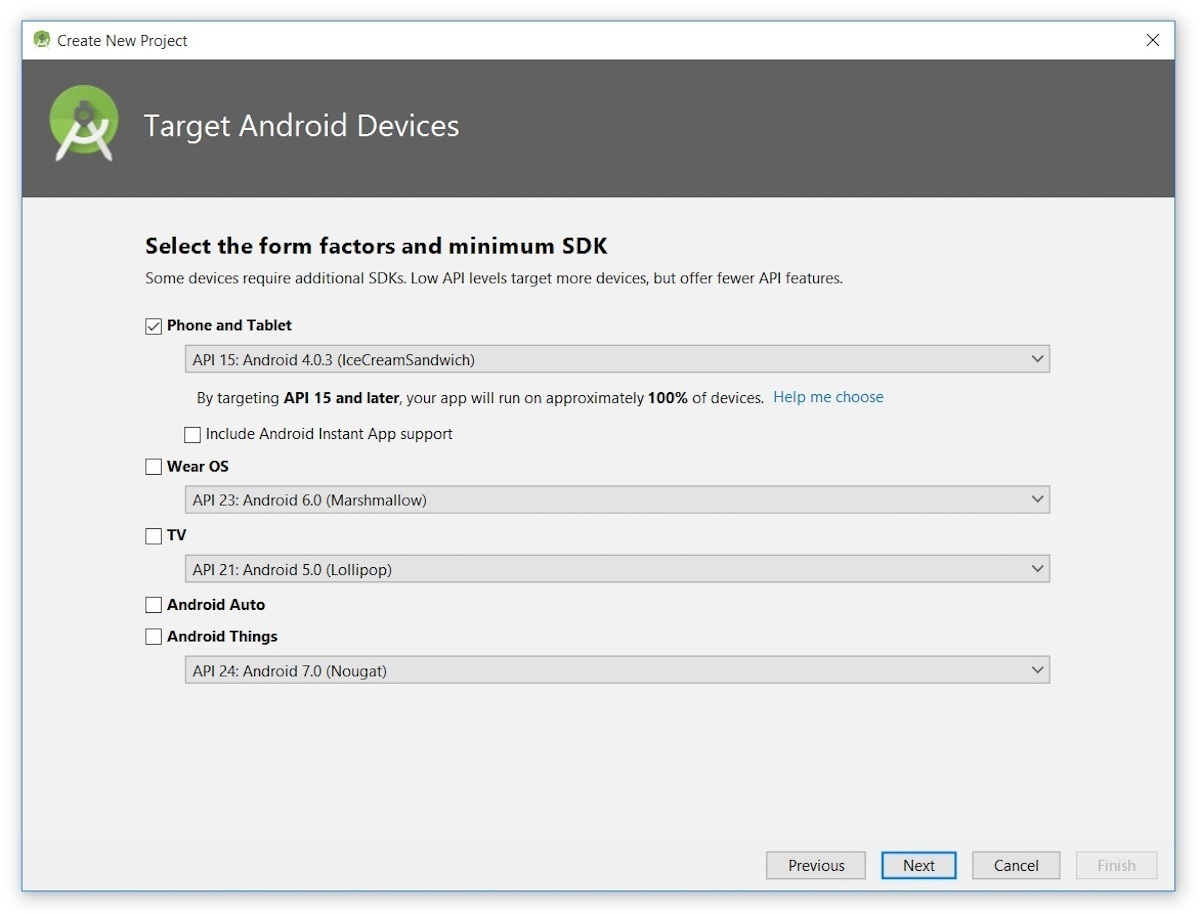
Figure 20. Select your target device categories
Android Studio lets you select form factors, or categories of target devices, for every app you create. I kept the default setting.
Click Next, and you will be given the opportunity to choose a template for your app's main activity. For now we'll stick with Empty Activity. Select this template (if necessary) and click Next.
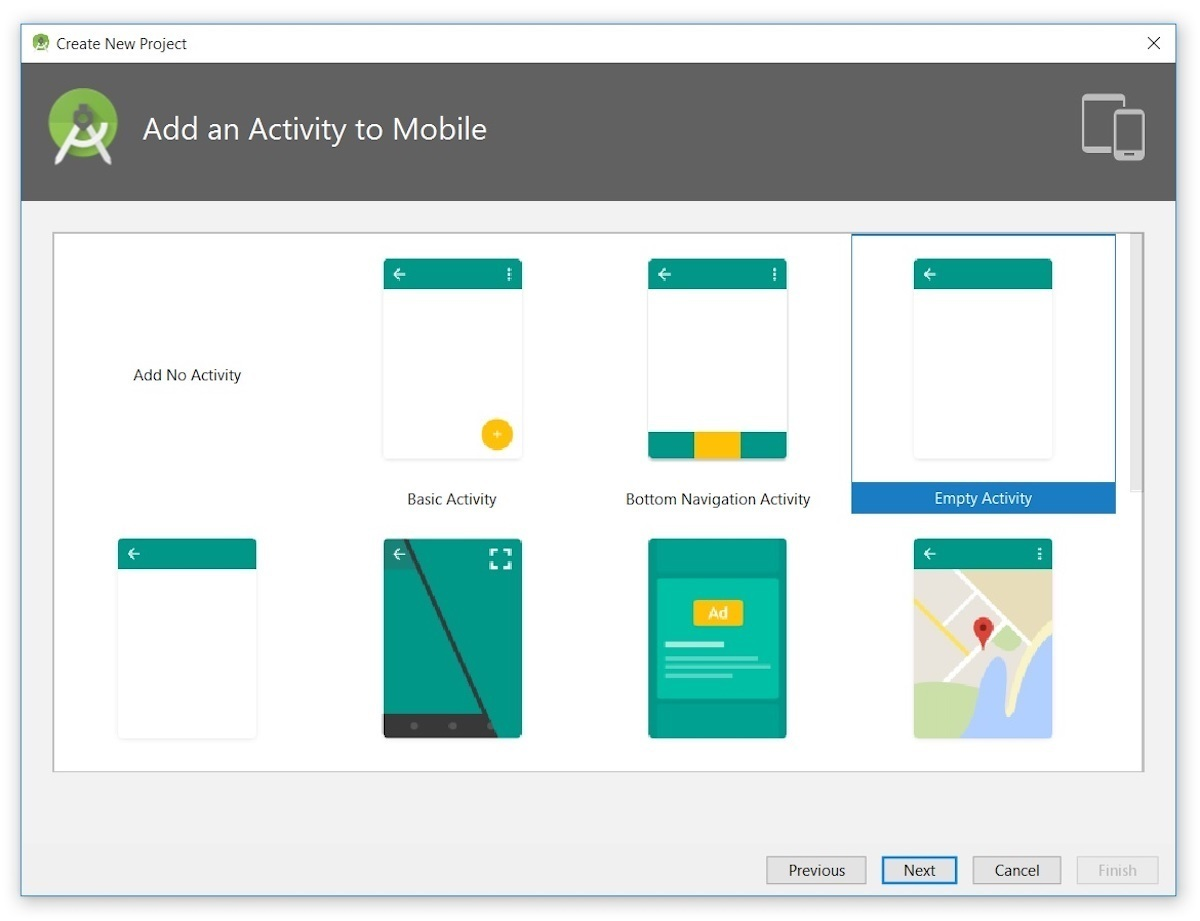
Figure 21. Specify an activity template
Next you'll customize the activity:
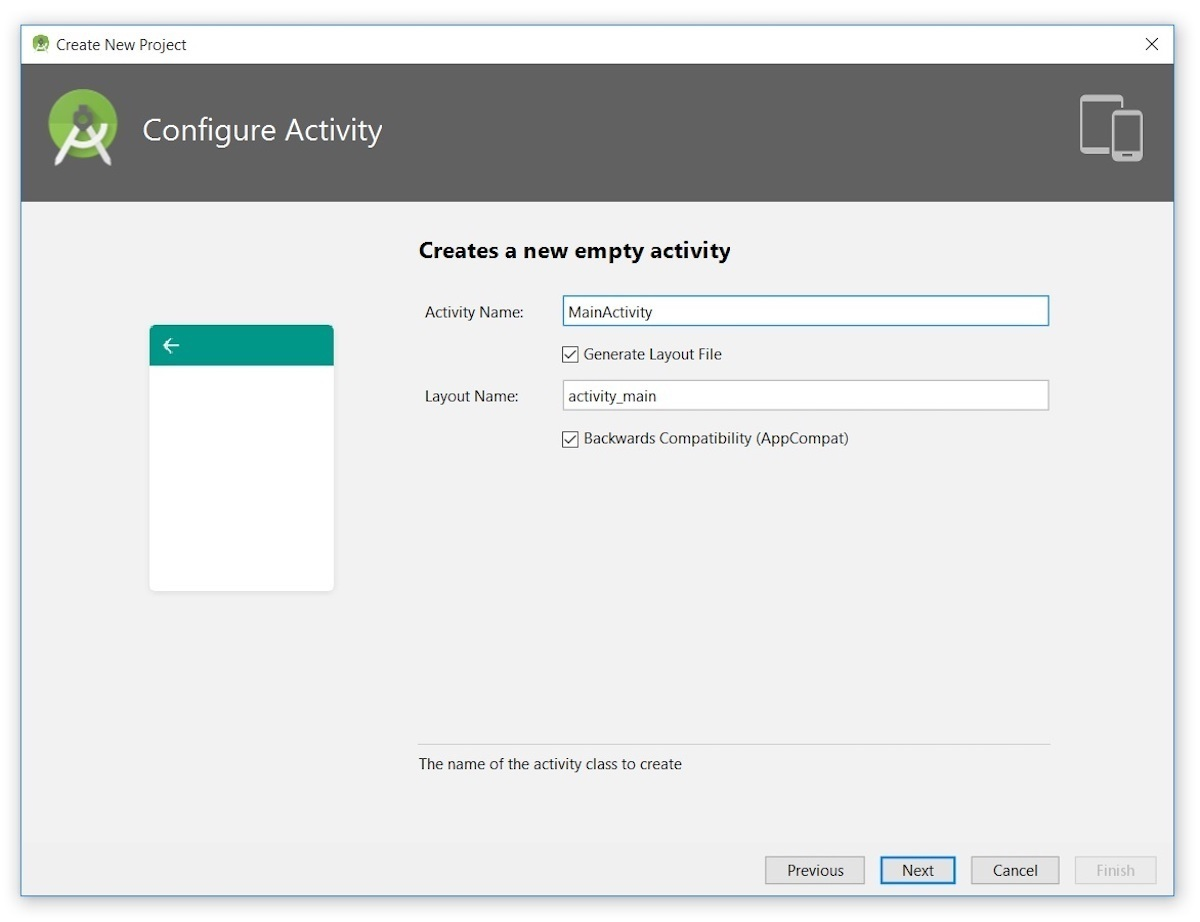
Figure 22. Customize your activity
Enter W2A as the activity name and main as the layout name, and click Next to complete this step.
Reconfigured buttons
The next time you create an app for the chosen target device category, you'll probably discover that Next is disabled and Finish is enabled.
The first time you use Android Studio, you'll discover that it has to download some files related to its constraint layout, which is used to build responsive user interfaces:

Figure 23. Constraint layout is the default layout used by Android Studio for new app projects
Android Studio enables Finish after downloading the constraint layout files. Click this button and Android Studio takes you to the main window.
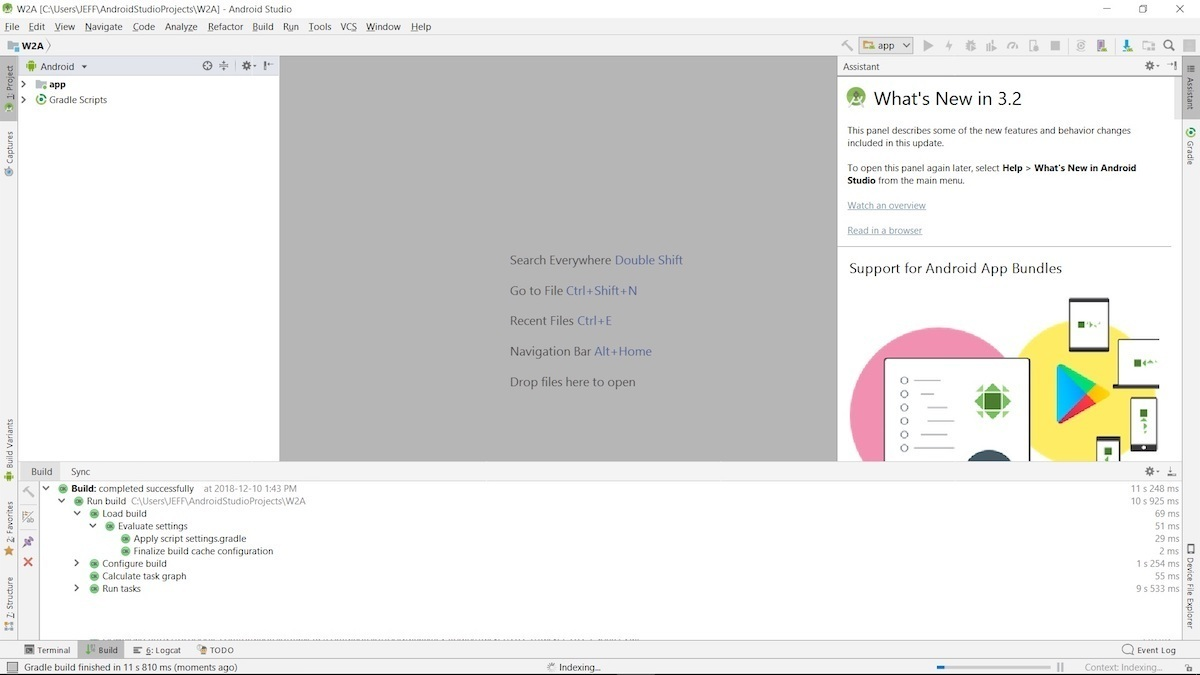
Figure 24. Android Studio's main window reveals that it has built a skeletal W2A app
